Photobucket Photobucket Photobucket

Saturday 24 April 2010

Happy Birthday Eleni!

I really love all the cherry blossom cake designs out there, and wanted to experiment for myself with this kind of style for a birthday tourta for a friend.
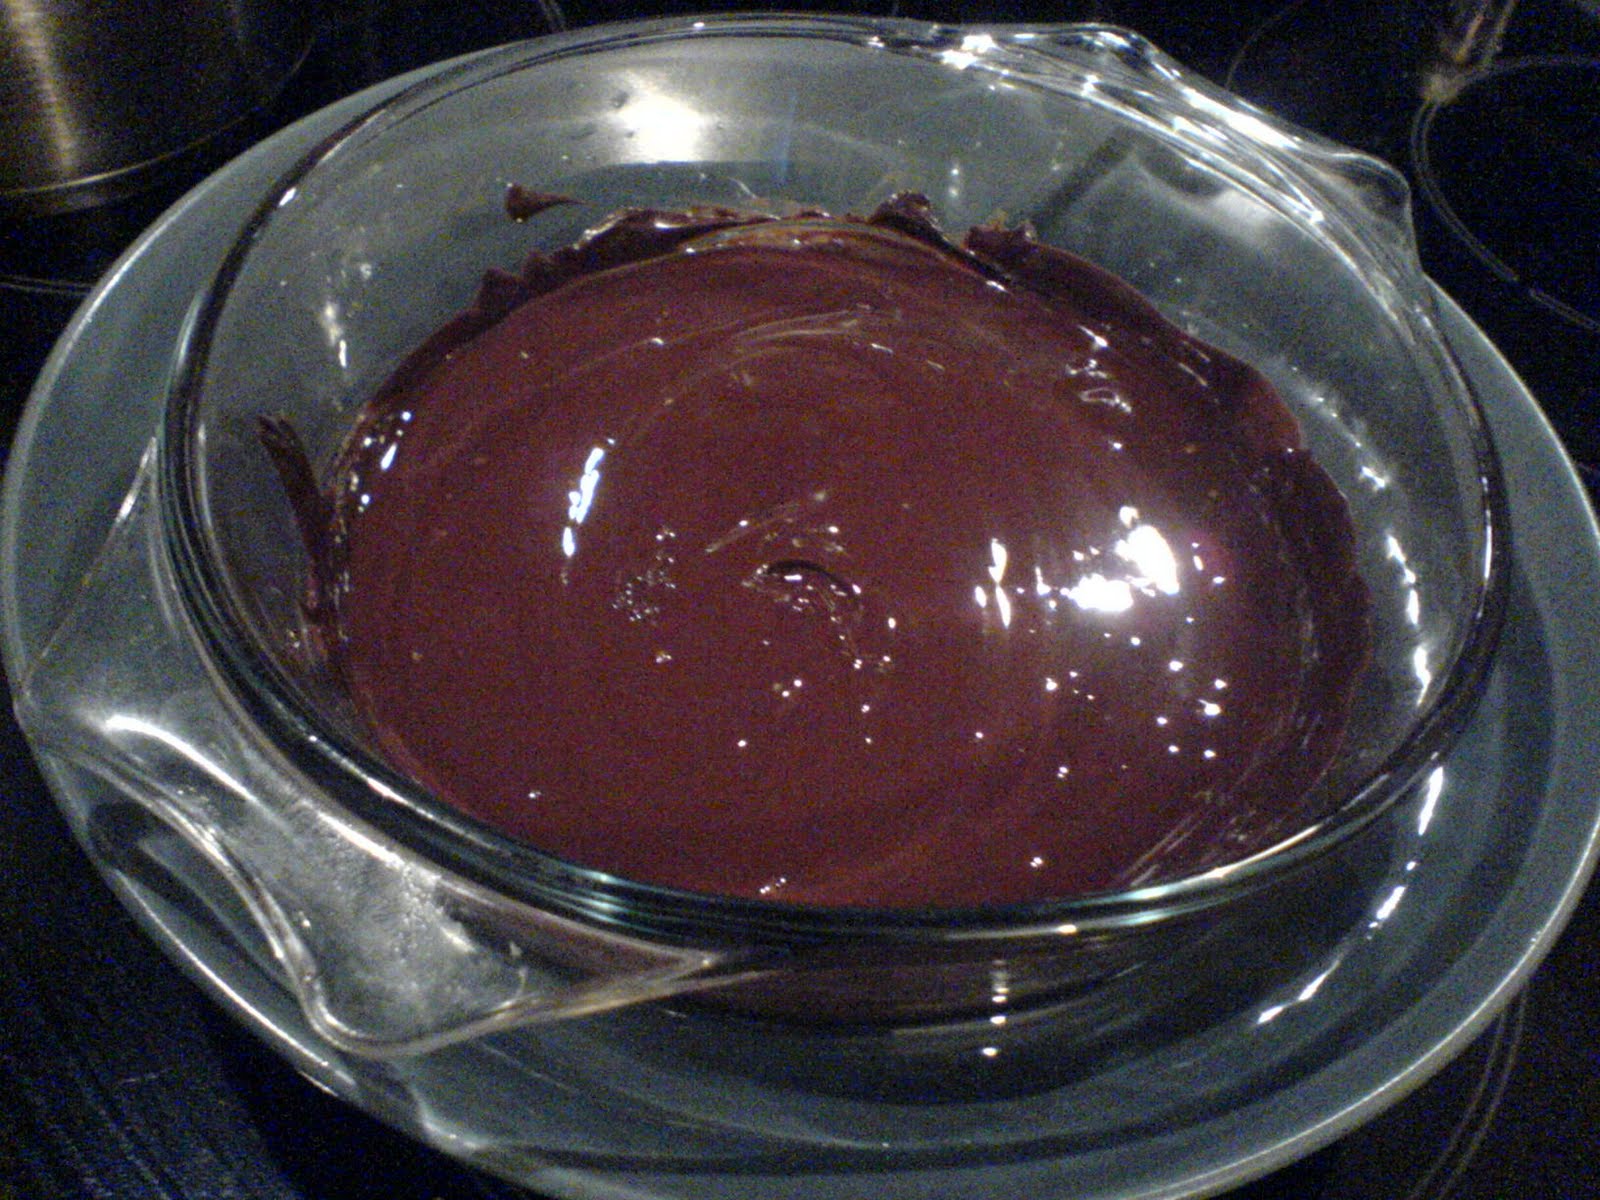
I used a strawberry cream & chocolate tourta covered in fondant tinted with blue and a little green for that 'Tiffany' Blue colour, chocolate ganache for the tree and branches - piped through greaseproof paper (i like to diy).

The flowers were made a day earlier and left to dry/harden. For the large flower i used 3 different sized heart shape cookie cutters to make the petals which were thinned out at the edges and left to harden a little in a cupcake holder! I started with the outter edges of the flower, using larger pieces of the flower petals and a little water to hold/glue them together then smaller petals. I probably should have done it the other way around but hey ho, it still turned out ok!


et voila!

Make mine a 'Fish n' Chips'

I cannot begin to tell you how much i miss Fish n' Chips loaded with salt n' vinegar on the pier stylee or Claphams Fish Club shop... sigh. That, and a good pie, not beta, i mean like a chicken and mushroom pie, oooh and whilst i'm on a roll a good Cornish Pasty or even West Cornwall's Steak and stilton pasty, yum. These are proper lard-fest foods, but i'm a foodie, so on tonight menu I bring you beer battered fish and chips with peas (not a fan of mushy - reminds me of school dinners).

Jamie's Dinner has a taste-tastic recipe which i've made numerous times and is a crowd pleaser - only you can't really cook this recipe for more than 4 peeps unless you have a huge deep fat fryer.

What you need:
• Sunflower oil for deep-frying
• ½ teaspoon sea salt
• 1 teaspoon freshly ground black pepper
• 225g nice white fish fillets, pinboned
• 225g flour, plus extra for dusting
• 285ml pint good cold beer
• 3 heaped teaspoons baking powder
• 900g potatoes, peeled and sliced into chips

Make it!
Pour the sunflower oil into your deep fat fryer or a large frying pan and heat it to 190ºC/375ºF.
Mix the salt and pepper together and season the fish fillets on both sides. This will help to remove any excess water, making the fish really meaty.
Whisk the flour, beer and baking powder together until nice and shiny. The texture should be like semi-whipped double cream (i.e. it should stick to whatever you're coating).
Dust each fish fillet in a little of the extra flour, then dip into the batter and allow any excess to drip off.
Holding one end, lower the fish into the oil one by one, carefully so you don't get splashed – it will depend on the size of your fryer how many fish you can do at once.
Cook for 4 minutes or so, until the batter is golden and crisp.


Meanwhile, parboil your chips in salted boiling water for about 4 or 5 minutes until softened but still retaining their shape, then drain them in a colander and leave to steam completely dry.
When all the moisture has disappeared, fry them in the oil that the fish were cooked in at 180ºC/350ºF until golden and crisp. While the chips are frying, you can place the fish on a baking tray and put them in the oven for a few minutes at 180ºC/350ºF/gas 4 to finish cooking.
This way they will stay crisp while you finish off the chips. When they are done, drain them on kitchen paper, season with salt, and serve with the fish and mushy peas.


Friday 23 April 2010

Sweet!!! No Bake chocolate cheesecake

I heart cheesecake with all my life and i can eat not just singular pot fulls of the stuff, i can probably manage a half portion of an 18" round dish in one single sitting. Disgusting, no? Sweet, yes! I'm all for easypeasy cheesecake - ie. no bake kind and having scoured the net, i found a few recipes i will be experimenting with to kick start a rather sweet Friday soiree.

This one is from one of my fave sites - BBC Goodfood, although i did spot some similar yummy ones over at All Recipes and UKTV Food.

Feeds 8 hungry big people.
What you need:
  • For the base:
  • 4oz gingernut biscuits
  • 4oz hobnobs
  • 4oz unsalted butter
  • For the filling:
  • 200g extra light philly cheese - at room temperature
  • 300ml tub of double cream
  • 200g galaxy chocolate - I used dark chocolate which i melted before crushing biscuits
  • Garnish (optional):
  • Melted dark chocolate to make swirls
  • Grated white chocolate
Make it!

First of all grease base of tin - melt chocolate.


Make the base- melt butter and add crushed biscuits. Press down in the bottom of the tin.


Whip the cream then and add philly cheese( which should be at room temperature.) Mix well then add melted chocolate and add topping to tin.


Now garnish as desired and chill overnight to set.


Wednesday 21 April 2010

Macaron madness! If you love it, we will make it!

Are you a macaron addict? We at Paradise Catering sure love these yummy, colourful bites of pure heaven. I'm on the run today, so will continue this post later today... for now enjoy these beautiful images!


Tuesday 20 April 2010

Summer Chickpea Salad a la Jamie O

There comes a time in the Greek calendar when excess is out and getting trim again is in and all the magazines, TV ads are spurring a whole load of interesting 'lose weight' diet plans including tea bags which will apparently make you lose weight.
This week (and it's only Tuesday) I've heard the word 'Diaita' or 'diet' whispered so many times, it's becoming the thing you 'must' do and start now. Hitting the beach o'clock is not far off so i can understand the craze at the moment.
Diet is such a dirty word, i just don't believe in it, so I just eat according to what makes me feel good with the occasional 'excess' of sweet candy and cake love. Ok, admittedly since i've been living here it's been a bit of an occupational hazard of mine to try out new chocolates, new flavours and well much more... But detoxing is pretty good for you though and once a year i like to get rid of the yucky toxins in my body by eating more healthily & cutting out certain types of food (be it meat and sugary snacks etc) - I'm just not really one for juices, or liquid diets! I'd probably fall flat on my face after day 2 of juicing or whatever! And don't get me started on leafy salads - ugh! I love a salad like anyone else but just not the plain boring leafy type - it's all about variety for me!

So anyhoos, here's something that's yummy and fulfilling from Jamie Oliver's book 'Jamie's Dinner's'.

"This salad is a great one for making up as you go along; you can use different spices, sun-dried tomatoes and spicy chorizo sausages, for instance."
Starters - feeds 4 hungry peeps
What you need:

• 1 small red onion, peeled
• 1–2 fresh red chillies, deseeded
• 2 handfuls of ripe red or yellow tomatoes
• 2 lemons
extra virgin olive oil
sea salt and freshly ground black pepper
• 1 x 410g jar or tin of chickpeas, drained, or around 4 large handfuls of soaked and cooked chickpeas -
I find that if you soak and drain your own it tastes way better than the tinned stuff!
• a handful of fresh mint, chopped
a handful of fresh green or purple basil, finely ripped
• 200g/7oz feta cheese

Make it!

First of all, finely slice your red onion. Once that's done, finely slice your chillies then roughly chop your tomatoes, mixing them in with the onion and chillies. Scrape all of this, and the juice, into a bowl and dress with the juice of 1½ lemons and about 3 times as much good extra virgin olive oil. Season to taste. Heat the chickpeas in a pan, then add 90 per cent of them to the bowl. Mush up the remaining chickpeas and add these as well – they will give a nice creamy consistency. Allow to marinate for a little while and serve at room temperature.

Just as you're ready to serve, give the salad a final dress with the fresh mint and basil. Taste one last time for seasoning – you may want to add the juice from your remaining lemon half at this point. Place on a nice serving dish and crumble over the feta cheese.

Monday 19 April 2010

Meringue! Not the dance


These delightful Meringue bites filled with either white chocolate or chocolate are now available at Paradise Catering.


If you're a serious meringue lover, our Lemon Pie is sure to tickle your taste buds

Monday 12 April 2010

Bakerella's Mickey & Minnie Mouse Cake Pops

Oh my gosh!!! Bakerella (all time favourite baking goddess & cake pop inventor extraordinaire) has truly excelled herself where no other person on this earth can - she made Mickey & Minnie Mouse Cake Pops! She's even got the full instructions on how to make these amazing goodies too via here. Aren't these simply the most awesome edible creations ever???
I've never made cake pops, only admired them from afar - like really far far away on Bakerella's website where you'll find all kinds of sweet treats, great food photography and of course recipes.
The Cake Pops have been such a success that Bakerella will be launching her very own book - exciting stuff or what?


creating cake balls from cooked cake mixture which has been crumbled and mixed with ready made frosting (i think that means icing sugar?) Pop in fridge to harden up a little


making the chocolate ears - you can use chocolate buttons & small cookie cutter to cut out a little chunk as above

The white candy is melted into a heatproof bowl (like melting chocolate/or microwave) and a few drops of black colouring is added & mixed well until you get the desired shade of black.


Taking a few cake pops at a time, Dip the tip of a lollipop stick into the melted coating and insert into the cake ball. Then, grab two candy melt ears and dip the cut side into the melted candy coating. Attach the ears to the top/side of the cake pop and the coating will set like glue.When dry, the entire cake pop is dipped in.


Minnie Mouse in the making - confetti hearts were used to create the bow.


Sprinkles and confetti for the eyes, nose & tongue. Edible pen was used to draw in the mouth - wish all these little bits were available in Greece!

Saturday 10 April 2010

Tourtes galore!


It's been a long day, tomorrow is a name day so we're busy preparing all the sweet goodness for y'all folks. Also, we've had numerous orders for savoury bites and Huge tourtes for Christenings happening this weekend... it appears there's a serious favourite amongst the girls that are celebrating this weekend. Minnie Mouse is one our most requested tourtes ever! Elefteria made 2 Minnie Mouse tourtes today, one catering for 50 people and the one above for a slightly smaller birthday celebration. Isn't it seriously cute and mouth watering??? I didn't quite get round to photographing all the other yummy cakes, but here's a few to tickle your taste buds.


Wednesday 7 April 2010

Super Scrumptious Keik


Soft, moist & delectable keik, covered in ganache or with milk chocolate with cookies. Why have it any other way?


Unless you fancy a light,zesty orange flavoured keik/portokalopita with your coffee instead?

Tuesday 6 April 2010

Fondant Roses Tutorial

Oooh, how exciting, I've made a recent discovery... actually, it's a brilliant blog for decorating tips and all things to do with sugar art -with the lovely Benson of Cakes du Soleil showing us how to create a vanity set. Love it!
I've never thought to make roses this way, but will definitely give it a go next time i'm making fondant roses.

Instructions:

Roll out the pink gumpaste very thin. Using the large end of the #12 piping tube, cut 6 circles.

Dampen one edge of the circle with gum glue; line up with overlapping sides, as shown.

Place a toothpick at the end and roll the first circle around the toothpick, creating the center of the rose. Remove toothpick, and continue to roll the circles around the center.

Gently roll back the edges of the "petals" and cut the excess from the bottom of the flower, using sharp scissors, creating a flat bottom. Set on styrofoam to dry.
Repeat this process four more times to make 5 roses in total.
Roll out a small amount of ivory gumpaste. Using the large end of the #12 piping tube, cut two circles.

Then place the tube 1/4" inside circle and cut again, as shown, creating a leaf shape.

Make veins in leaves using a toothpick. Pinch ends of the leaves together and set on styrofoam to dry.

images via Sugar Teachers